What is a design sprint?
Product design sprints are invaluable for new businesses or existing companies looking to design a website or refine a digital product.
A sprint is an intensive week that aims to help the team understand of what the product is (or should be). During the sprint, the team brainstorms ideas and features, decides on which ones to explore, and then finally prototypes and tests these concepts with real users.
Sprints make it possible to learn what would traditionally take months of effort in just a single week, ensuring that valuable time and money should not be waste on something that might not work.
What do you need?
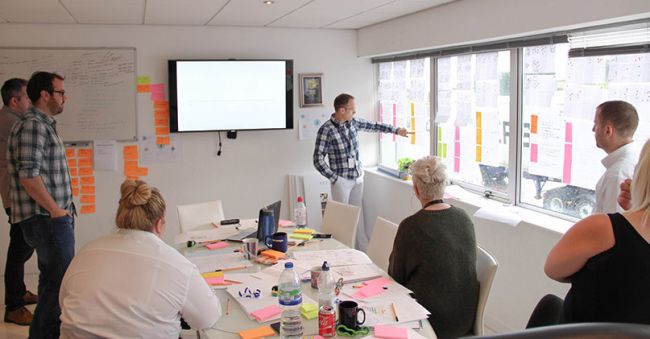
Before you start the design sprint, you’ll need to make sure that everything is prepared. You’ll need a room (ideally a large boardroom with lots of whiteboards) and supplies such as Sharpies, Post-Its, paper, Blu-Tac and stickers.
Next you need to make sure you have the right people in the room. From the client side you’ll need a product owner and a couple of stakeholders. You don’t want any more than five, but you do need to make sure that key decision-makers are included. Your internal team should probably consist of a UX expert, a tech expert and a facilitator who is able to steer the group.
With everything set up, you can kick off your sprint.
How do you run a design sprint?
First you need to understand the problems you’re trying to solve, and identify your goal. Discuss ideas, analyses competitors and review analytics. Define what the client and the team want to focus on, and then you can begin on the main user journey.
Day 2: Diverge
Break up the overall user journey and start focusing on the little issues that can make a big difference, solving the problems you identified in day one. Everyone will have different solutions, so work individually, quickly creating sketches and notes with different ideas on. Don’t get hung up on one specific idea – the key here is to get as many different options on the table as possible.
Day 3: Make a decision
This is perhaps the most important and difficult day. It’s now time to make some decisions on how the prototype will look. With lots of ideas in front of you, you need to review, critique and choose which elements to take to the next stage.
whole team vote for the best options by using stickers to identify the group’s favourite features and a overall design. Then, construct a new storyboard with the agreed concepts and UI interfaces to act as a blueprint for the following day.
Day 4: Prototype
With a storyboard agreed upon, the UX designer gets to work on creating a working prototype for user testing. There are just a few hours to work. So at this point the prototype is not meant to look pretty, be branded or function perfectly.
A rough mock-up means you can maximize time and get the most important parts of the design for users to review. And without wasting effort on something that could end up getting scrapped.
Day 5: Test and review
It’s crunch time – now you turn the prototype over to real users to get their feedback. We have a test rig that allows us to record the tests and share them with all the stakeholders. So they can see what real customers think of the product, and watch how they interact with it. The validation or critique these users provide is insightful and invaluable.
Why is it beneficial?
The whole process is fast and efficient, which means resources aren’t wasted. With everyone involved in the sprint, from our own UX team to the CEO of the client’s company, we know everyone is aware of what’s going on and has had the chance to share their own opinions and ideas.
There are no bad outcomes with a design sprint. Within just five days, we have a working prototype with real user feedback. We can get criticism and constructive feedback from the users, without having to go through a lengthy product launch. This process we use successfully with a number of our clients and we recommend you try them too.